
Introduction: The Invisible Money Drain Above Your Ceiling
Ask any energy auditor—or the seasoned pros who perform home inspections in Chicago buyers rely on—and they’ll tell you the same thing: the most common source of wasted energy, chronic comfort complaints, and hidden moisture damage is sitting right over your head. Poorly insulated and poorly sealed attics plague everything from century‑old Chicago bungalows to shiny new suburban builds.
While projects like kitchen remodels or bathroom updates soak up the spotlight and the budget, upgrading attic insulation and tackling air leaks consistently ranks among the highest‑return improvements a homeowner can make. This post dives into the building‑science reasons, the financial payback, and the exact steps involved—so you can decide if the job belongs in your next home‑improvement plan.
1. Why Attic Insulation and Air Sealing Work Hand in Hand
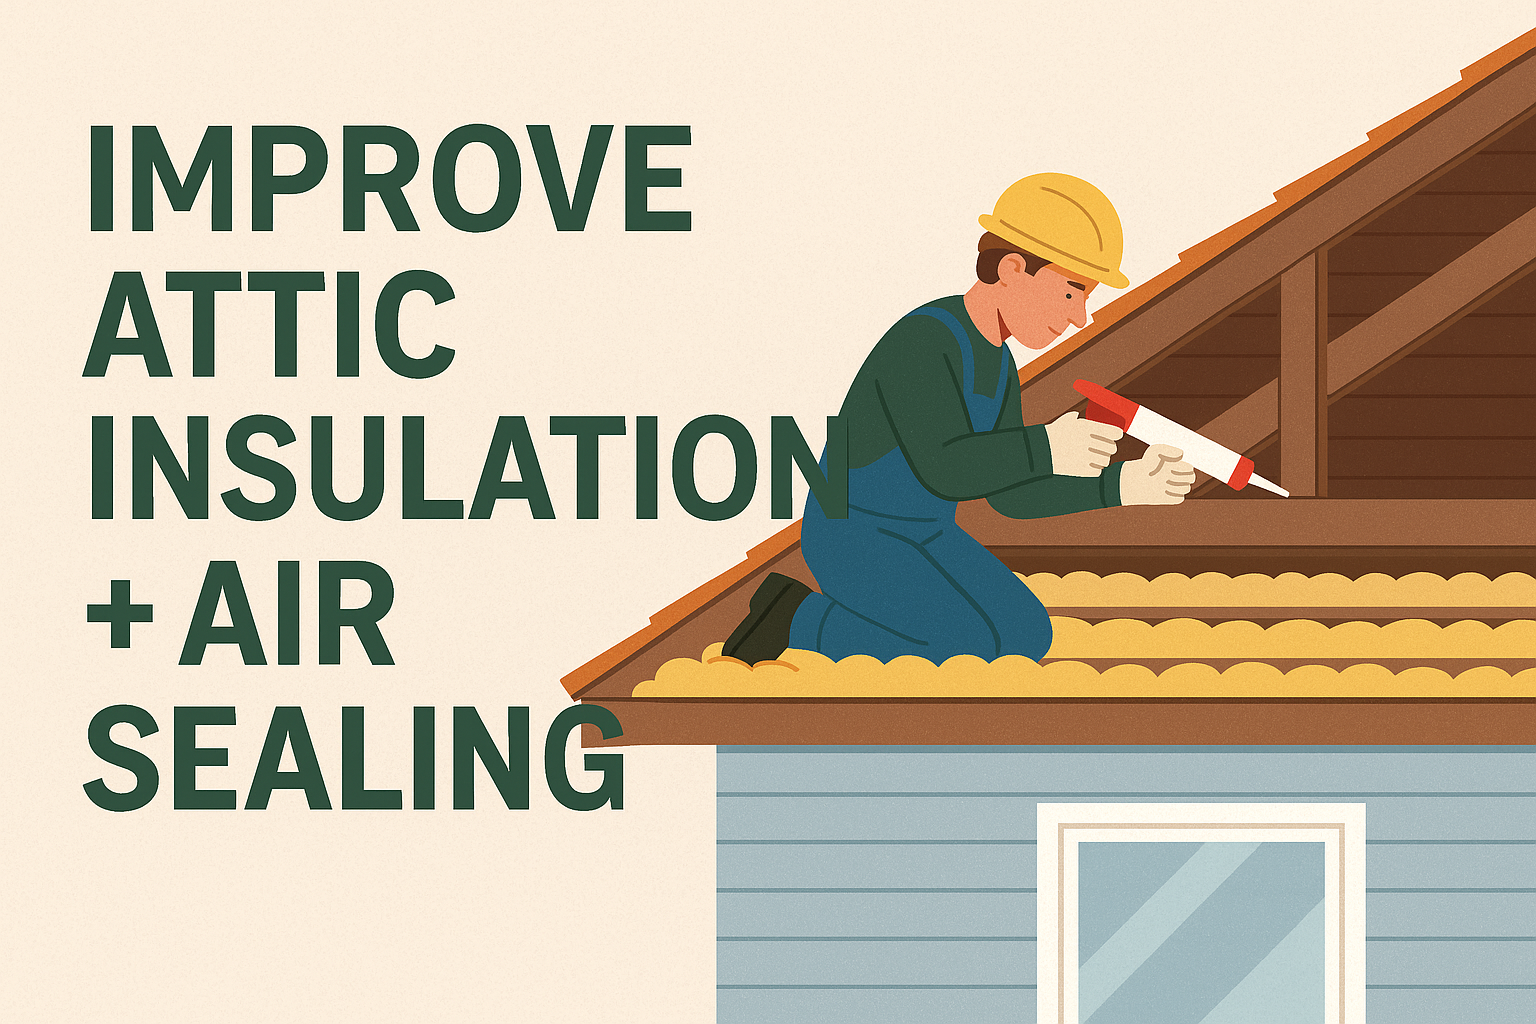
Most people picture insulation as a giant winter coat for the house. That’s half the story. Air sealing—closing the gaps and cracks where conditioned air escapes—makes the “coat” effective by stopping drafts that sneak through recessed‑light cutouts, top‑plate gaps, plumbing chases, and wiring penetrations.
- Without air sealing: Warm, moist interior air rises (“stack effect”) and blows through insulation, carrying heat and water vapor into the attic. Wet insulation loses R‑value, and ice dams or attic mold become likely.
- Without insulation: Even an airtight attic will bleed heat rapidly through the drywall and framing.
Together they form a complete thermal boundary: insulation slows conductive heat loss, while air sealing blocks convective heat flow. During home inspections in Chicago inspectors often note missing or thin fiberglass coupled with visible daylight around plumbing stacks, proving a partial fix is no fix at all.
2. Hard Numbers: Energy Savings and Return on Investment
2.1 Heating and Cooling Savings
- Midwestern utilities estimate 15 – 25 % annual heating savings when attics are brought up to modern code levels (R‑49 or higher) and major leaks are sealed.
- In cooling‑dominated climates savings hover around 10 – 15 %, but Chicago’s humid continental climate still sees noticeable A/C reductions because a tight, insulated attic resists solar‑baked attic heat from radiating downward.
2.2 Payback Period
- DIY air‑seal plus blown‑in cellulose to R‑49 typically costs $1 – $2 per square foot.
- At the current average ComEd winter gas cost of roughly $0.95/therm, a 1,500‑square‑foot home can recoup installation costs in three to five heating seasons.
- Compare that to a bathroom remodel, which NAR’s Remodeling Impact Report pegs at roughly 50 % payback on resale—ten years or more to break even.
2.3 Added Home Value
Savvy buyers look for low operating costs and healthy buildings. During home inspections in Chicago appraisers increasingly highlight “energy‑efficient features” in their reports, and local MLS listings now allow an “ENERGY STAR features” checkbox. Documented attic improvements can raise list price and shorten time on market.
3. Building‑Science Benefits Beyond the Utility Bill
3.1 Comfort: Even Temperatures Room to Room
When ceiling temperatures track interior temperatures, radiant heat loss (what makes you feel chilly) drops dramatically. Homeowners often report:
- Warmer upstairs bedrooms in January (no more piling on blankets).
- Cooler second floors in August, because attic heat stays above the insulation plane instead of radiating through the drywall.
3.2 Moisture Control and Mold Prevention
Chicago’s freeze‑thaw cycles amplify condensation risks. Leaky ceilings allow humid indoor air to hit cold roof sheathing, causing frost that melts and soaks the insulation. Air sealing keeps water vapor where it belongs—inside living spaces until the bathroom fan or kitchen hood exhausts it outdoors.
3.3 Ice Dam Reduction
Ice dams form when rooftop snow melts over a warm attic and then refreezes at the cold eaves. By limiting heat flow into the attic, insulation and sealing maintain a colder roof deck, drastically cutting dam formation.
3.4 HVAC Longevity
Reduced heat loss means the furnace and air conditioner cycle less often, extending equipment life and saving on maintenance—another perk noted during home inspections in Chicago mechanical evaluations.
4. Diagnosing Your Attic: Signs You Need an Upgrade
- Uneven Snow Melt – Bare roof patches above living space signal heat escape.
- Icicles – Large icicles along gutters indicate melt‑freeze cycles.
- Dusty or Wind‑Washed Insulation – Dirty fiberglass is a tell‑tale marker of air movement.
- Recessed Light Housings Exposed – Can lights without airtight covers act as chimneys.
- Temperature Swings – Rooms below the attic feel significantly colder or hotter than lower floors.
- Professional Report – Many home inspections in Chicago include thermal imaging, revealing cold spots across ceiling joists or around attic penetrations.
5. Materials and Techniques That Outperform
5.1 Air‑Sealing Targets
- Attic Hatch – Install rigid, gasketed covers or insulated scuttle doors.
- Top Plates – Caulk where drywall meets framing.
- Plumbing and Wiring Holes – Fire‑rated spray foam or caulk.
- Chimney Chases – Aluminum flashing plus high‑temperature sealant.
- Recessed Lights – Recessed cans labeled “IC‑AT” (insulation contact, airtight) or retrofit boxes.
5.2 Insulation Options
| Type | R‑value per inch | Pros | Cons |
|---|---|---|---|
| Loose‑Fill Cellulose | 3.2–3.8 | Good air resistance, recycled content, economical | Settles 10 % over time |
| Blown Fiberglass | 2.5–3.0 | Non‑combustible, light | Loses R‑value if wind‑washed |
| Spray‑Foam (Closed Cell) | 6–7 | Air barrier + high R, moisture resistant | High cost, professional install only |
A hybrid approach—air‑seal, then blown‑in cellulose to depth—is the most budget‑friendly method witnessed on many home inspections in Chicago follow‑ups.
6. Step‑by‑Step Project Roadmap
Step 1: Safety and Prep
- Wear an N95 mask, gloves, and knee pads.
- Turn off attic light circuits and mark any wiring.
- Lay temporary planks over joists to avoid ceiling damage.
Step 2: Air Sealing First
- Work from the eaves inward.
- Use expanding foam sparingly; trim flush to joist height.
- Install weather‑stripped, insulated attic hatch covers.
Step 3: Baffles for Ventilation
- Staple foam or cardboard baffles at each soffit bay to preserve air intake and prevent insulation blocking.
Step 4: Add Insulation
- Blow cellulose or fiberglass to achieve at least R‑49 (about 15 inches cellulose or 20 inches fiberglass).
- Mark depth gauges (cardboard rulers) every few joist bays.
Step 5: Final Checks
- Verify clearances around exhaust flues (minimum 2 inches for combustibles).
- Keep storage areas clear or build a raised platform and insulate underneath.
Step 6: Documentation
- Photograph ruler depths and saved utility bills; buyers and home inspections in Chicago firms appreciate proof.
7. Professional vs. DIY: Making the Call
- DIY Advantage: Home‑center rental blowers are cheap; sealing supplies cost under $200.
- Pro Advantage: Infrared cameras pinpoint hidden leaks; pros handle spray foam safely; rebates often require certified installers.
ComEd and Peoples Gas periodically offer instant rebates for qualifying insulation upgrades—ask your contractor or check the utility website.
8. Code and Permit Considerations in Chicago
- Chicago Building Code now references IECC R‑49 minimum for attic floors in new construction. Upgrading existing homes typically does not require a permit unless structural changes or spray foam near electrical equipment occur.
- If you’re in a landmark district or multifamily building, confirm local ordinances. During home inspections in Chicago inspectors flag insufficient attic fire‑blocking or over‑covered knob‑and‑tube wiring, prompting follow‑up by the city.
9. Frequently Asked Questions
Q: Will adding insulation make my roof rot?
A: Not if attic ventilation is maintained. Air sealing lowers moisture migration; ventilation then carries residual moisture away.
Q: Can I blow insulation over recessed lights?
A: Only if the fixtures are IC‑rated (insulation contact). Otherwise maintain a 3‑inch clearance or use protective covers.
Q: How do I know if I already have enough insulation?
A: Measure depth: < 7 inches of loose fiberglass or < 6 inches of cellulose means you’re below R‑19—far short of today’s standards. Even R‑30 often leaves money on the table.
Conclusion: Small Cost, Outsized Impact
Of all the improvements highlighted during home inspections in Chicago homeowners undertake, few match the cost‑to‑benefit ratio of a well‑sealed, well‑insulated attic. You:
- Slash utility bills every single month.
- Boost comfort in winter and summer.
- Protect the structure from moisture and ice.
- Increase resale value with documented energy upgrades.
Whether you DIY over a long weekend or hire a certified insulation contractor, you’re investing in the durability, efficiency, and livability of your home—without the five‑figure price tag of flashier renovations. In the end, what’s above the ceiling may matter even more to your wallet and well‑being than what’s on the countertop. So grab a flashlight, pop that attic hatch, and start sealing the leaks—your future self (and your energy bill) will thank you.